“Ever wondered how to create stunning laser cutting designs using just Photoshop? While vector software like Illustrator is commonly used, Photoshop can also be a powerful tool when used correctly. In this guide, I’ll walk you through the step-by-step process…”

Hello, my name is Ricky! I’m a laser cutting designer with 7 years of experience, specializing in creating precise and artistic designs for laser cutting and engraving. I’ve worked on 4,500+ projects online and offline, and I also teach laser cutting design through my Udemy course. With expertise in Photoshop, Illustrator, and Inkscape, I love simplifying complex design processes to help others create stunning laser-cut projects. Let’s dive into how you can make laser cutting designs in Photoshop effortlessly!
Importance of Designing in Photoshop for Laser Cutting Design-
Detailed Raster Graphics:
⦁ Photoshop excels at creating and editing raster images (pixel-based graphics), which are ideal for intricate designs, textures, or patterns that require shading, gradients, or fine details.
⦁ This is particularly useful for engraving designs, such as photographs, logos, or artistic illustrations, onto materials.
Image Editing Capabilities:
⦁ Photoshop provides advanced tools for editing and enhancing images, such as adjusting brightness/contrast, removing backgrounds, or adding effects.
⦁ These tools can help prepare images for laser engraving, ensuring high-quality results.
Flexibility for Artistic Designs:
⦁ If your laser cutting design involves artistic elements (e.g., custom artwork, decorative panels, or textured surfaces), Photoshop allows for greater creative freedom in designing visually appealing graphics.
Preparing Complex Patterns:
For designs that require complex patterns or textures (e.g., lace-like designs or organic shapes), Photoshop can be a great tool to create and refine these elements before converting them into vector formats.
Limitations of Using Photoshop for Laser Cutting Design:
Raster vs. Vector:
⦁ Laser cutters require vector files (e.g., SVG, DXF, or AI) for precise cutting. Photoshop’s native format (PSD) is raster-based, meaning designs must be converted to vectors, which can result in loss of quality or require additional steps.
Scalability Issues:
⦁ Raster images are resolution-dependent and can become pixelated when scaled up. This makes them less suitable for designs that need to be resized for different applications.
Complex Workflow:
⦁ To use Photoshop designs for laser cutting, you often need to export the design to vector software for final adjustments, such as defining cut lines, adding registration marks, or ensuring proper kerf allowances.
Limited Precision for Cutting:
⦁ Photoshop lacks the precision tools needed for creating clean, scalable cut lines, which are essential for laser cutting. Vector-based software is better suited for this purpose.
When to Use Photoshop for Laser Cutting Design
Hybrid Projects:
For projects that combine both engraving and cutting, Photoshop can be used to create the engraving elements, while vector software handles the cutting paths.
Artistic Designs:
When the focus is on creating visually complex or artistic designs, Photoshop’s tools can help achieve the desired aesthetic.
Engraving Design:
If your project involves engraving detailed images, textures, or photographs, Photoshop is an excellent tool for preparing these designs.
Before we dive into creating laser cutting design, I have some personal tips that you should keep in mind. These will help you avoid any issues later while creating your designs.

Design Simplicity Matters:
Laser cutting works best with clean and simple designs. Avoid overly complicated patterns as they may not cut properly.
High-Resolution Canvas:
Start with a high-resolution canvas (300 DPI) to ensure your design is sharp and clear.
Use Only Vector-Based Designs:
In laser cutting design, only vector-based designs are used because they don’t lose quality (pixels don’t get distorted), and there’s no problem in resizing (scaling up or down).
Keep Corners Smooth and Sharp:
Always ensure that when you finalize your design, the corners (outlines) are checked properly. This helps the laser cutting machine cut smoothly, and your final product turns out clean and precise.
Graphic & Elements Cut:
When designing a graphic, always make sure that the starting point and ending point are connected to something. This ensures that the design is cut exactly as it appears in the graphic.
Text Cut:
If you want to cut text, make sure the letters are connected (not isolated). This makes the design look more attractive and ensures the text is cut properly.
Next Steps: Step-by-Step Guide to Create Laser Cutting Design in Photoshop
Now that you know the basics, start experimenting! If you have any questions, drop a comment below. Also, check out my Udemy course for an in-depth guide on laser cutting designs
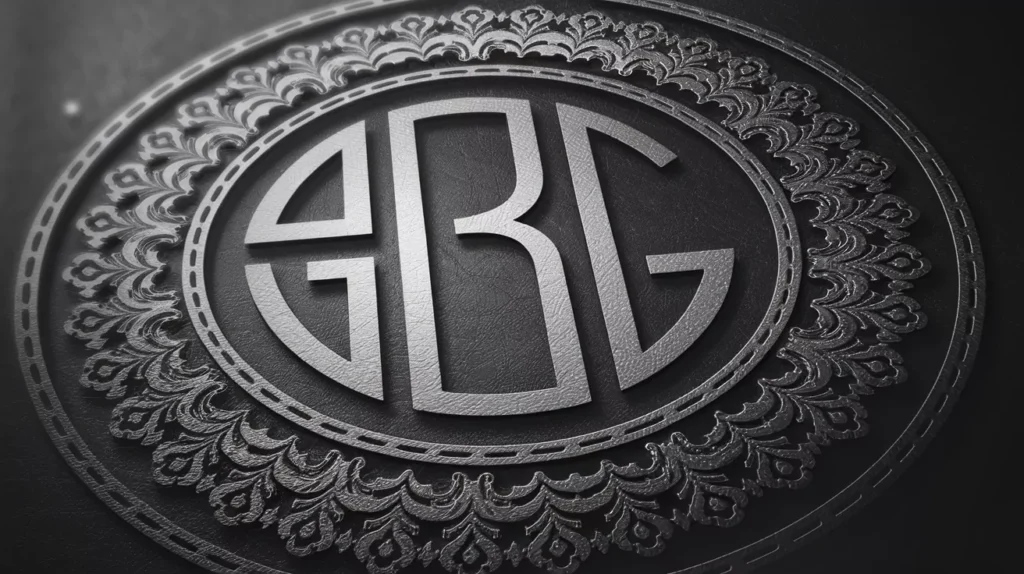
We will create two simple types of laser cutting design in Photoshop. One design will be a monogram, and the other will be a keyring with text. Both laser cutting design will be properly prepared for precision cutting, ensuring they are ready for the machine.
Monogram Design Using Photoshop – Step by Step
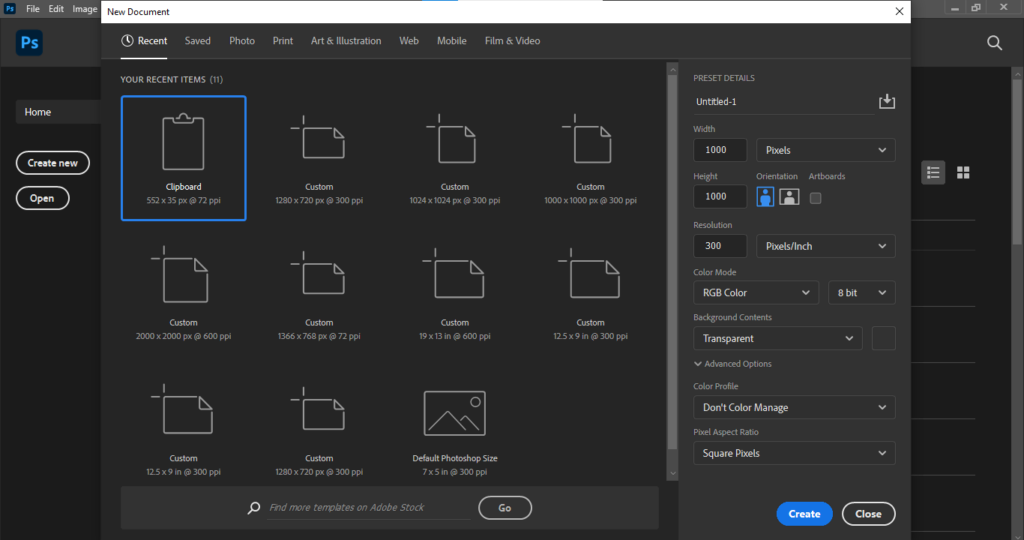
Step 1: Create a New Document
- Open Adobe Photoshop
⦁ Click on File > New and set the dimensions as per your laser cutting requirements (e.g., 1000×1000 pixels, 300 DPI).
⦁ Set the background to transparent for easy export.
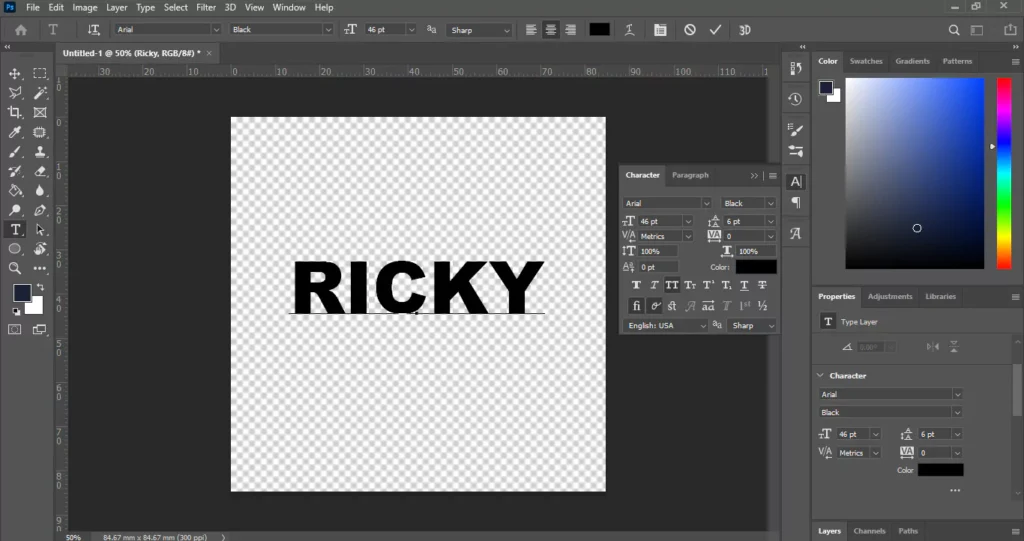
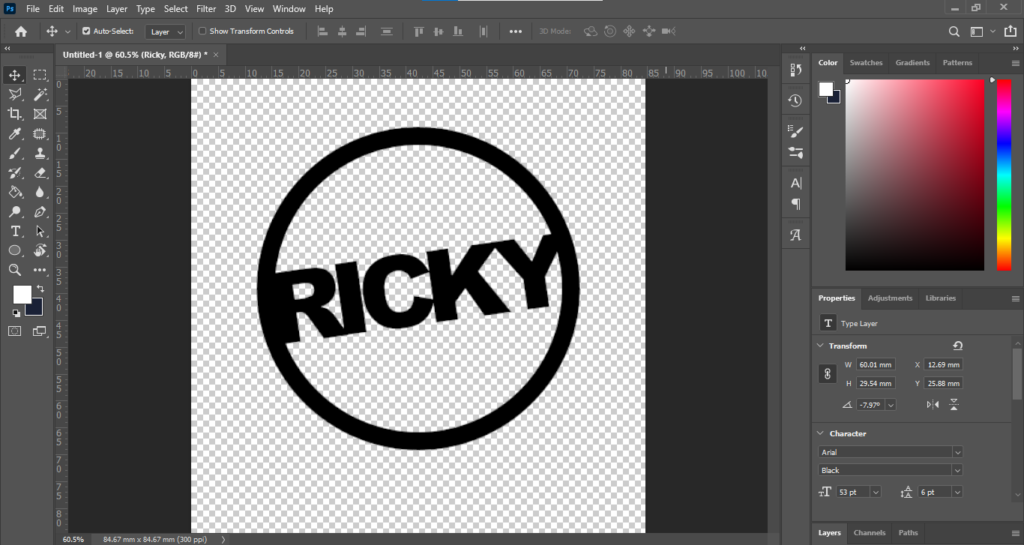
Step 2: Choose a Bold Font
⦁ Select the Type Tool (T) from the toolbar.
⦁ Type the initials or letters for the monogram (e.g., ”Ricky”).
⦁ Choose a bold, thick font like Impact, Arial Black, or a decorative serif font to ensure proper laser cutting.
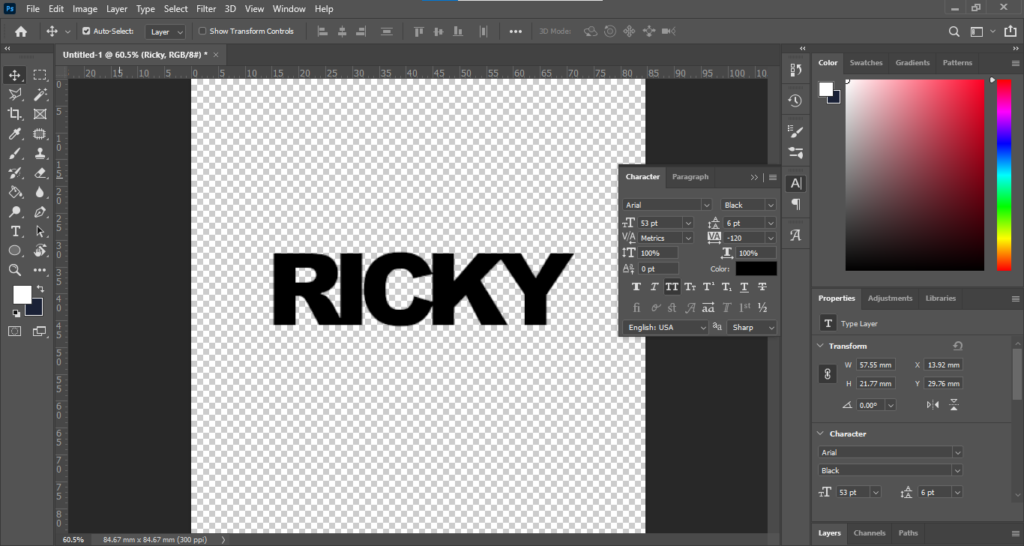
Step 3: Modify the Monogram Design
⦁ Use the Path Selection Tool (A) to adjust the spacing and alignment of the letters.
⦁ If you want a connected monogram, slightly overlap the letters and merge them using Pathfinder (if using Illustrator) or by manually adjusting the paths in Photoshop.
Step 4: Add Elements
⦁ You can add borders, flourishes, or circular shapes around the monogram to enhance the design.
⦁ Use the Ellipse Tool (U) or Pen Tool (P) to create extra design elements.
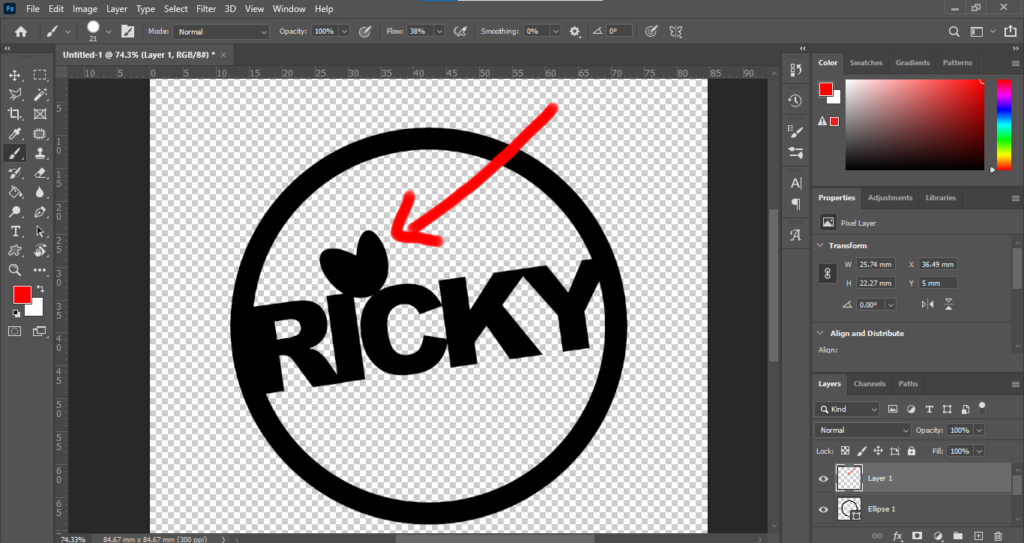
Step 5: Add Decorative Elements (Optional)
If you look at this image, you’ll see that I added a heart element to complete the design properly.
Add Hanging Hole – To hang the monogram, we can add a small circle at the top. This will make it easy to hang when the design becomes a physical product.
Step 6: Prepare for Laser Cutting
⦁ Ensure all elements are connected to avoid floating parts after cutting.
⦁ Convert the design to pure black (RGB: 0,0,0) since laser cutting machines recognize black as the cut area.
⦁ Remove any background color (keep it transparent).
⦁ Merge all layers
Step 7: Export the File
⦁ Go to File > Export > Export As and choose SVG & PNG
⦁ If using PNG, make sure it has a transparent background and is in high resolution (300 DPI).
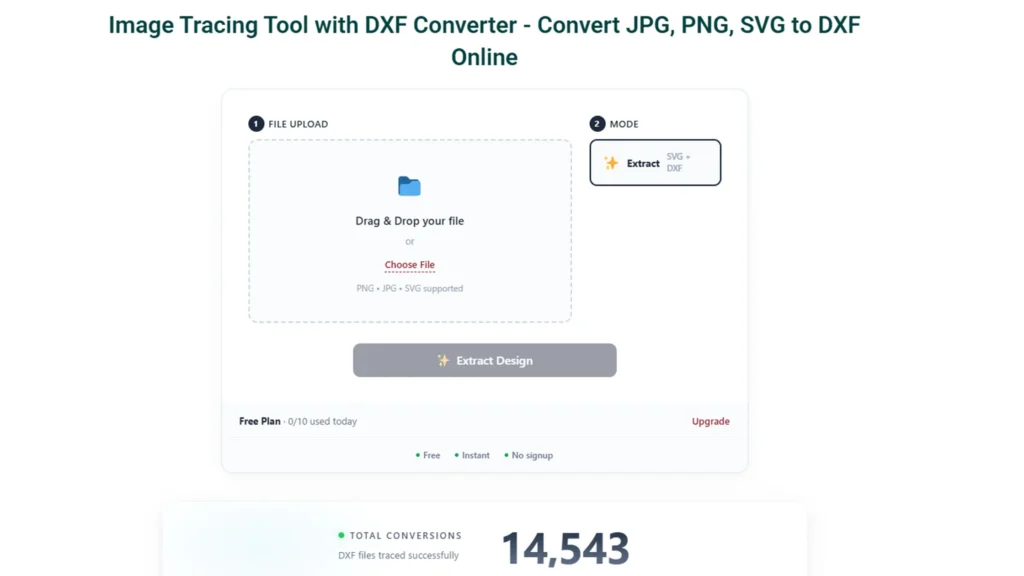
Step 8: Convert Laser Cutting Design into DXF Format
We need to convert every file into DXF format to ensure proper cutting. For this, we will use the rickylaserart website to prepare the laser cutting design correctly.
⦁ Go to rickylaserart.com Website – Open your browser and visit rickylaserart.
⦁ Upload Your File – Click on “Choose Files” and upload your SVG or PNG file.
⦁ Select DXF Format – In the output format section, choose DXF.
⦁ Convert the File – Click on “Convert” and wait for the process to finish.
⦁ Download the DXF File – Once the conversion is complete, download the DXF file and use it for laser cutting.
I personally use rickylaserart for reliable DXF conversions, and it has never disappointed me.
Creating a Custom Name Laser Cutting Design for a Keyring in Photoshop – Step by Step
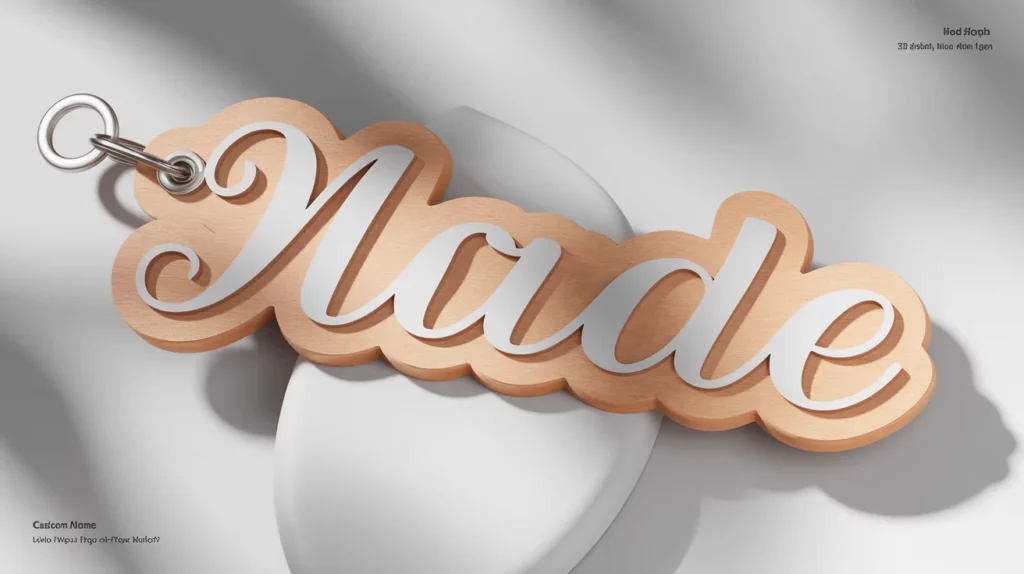
Now, we will create a Laser cutting design for a keyring with a name using Photoshop and prepare it for precise cutting.
Step 1: Create a New Document
⦁ Open Adobe Photoshop.
⦁ Click on File > New and set the dimensions (e.g., 1024 x 720 pixels, 300 DPI).
⦁ Keep the background transparent for easy export.

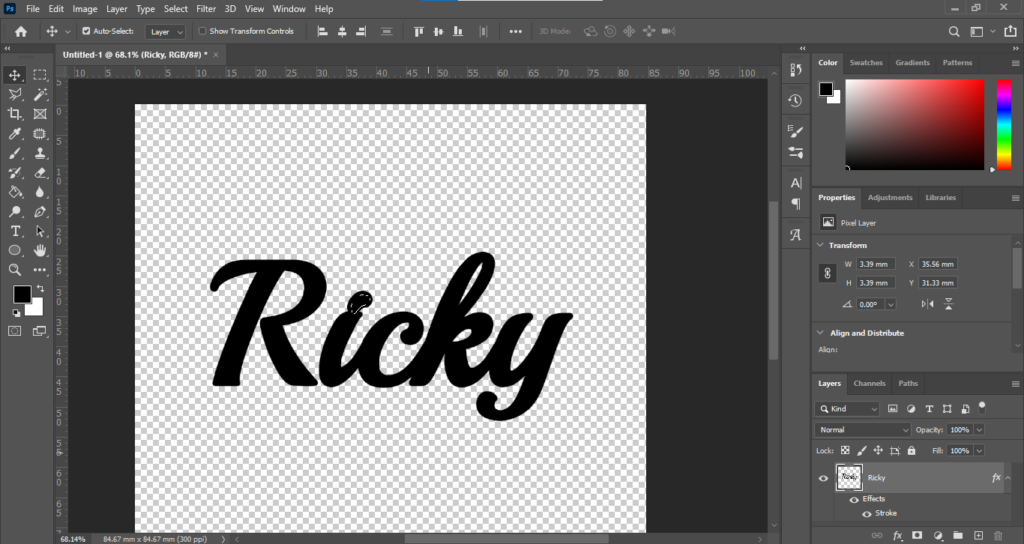
Step 2: Add the Name Text:
⦁ Select the Type Tool (T) and type the desired name (e.g., “Ricky“).
⦁ Use any stylish font, but it should be bold, and the letters should be slightly attached. Minor adjustments can be done manually.
For example, I have chosen the Playball font for the text.
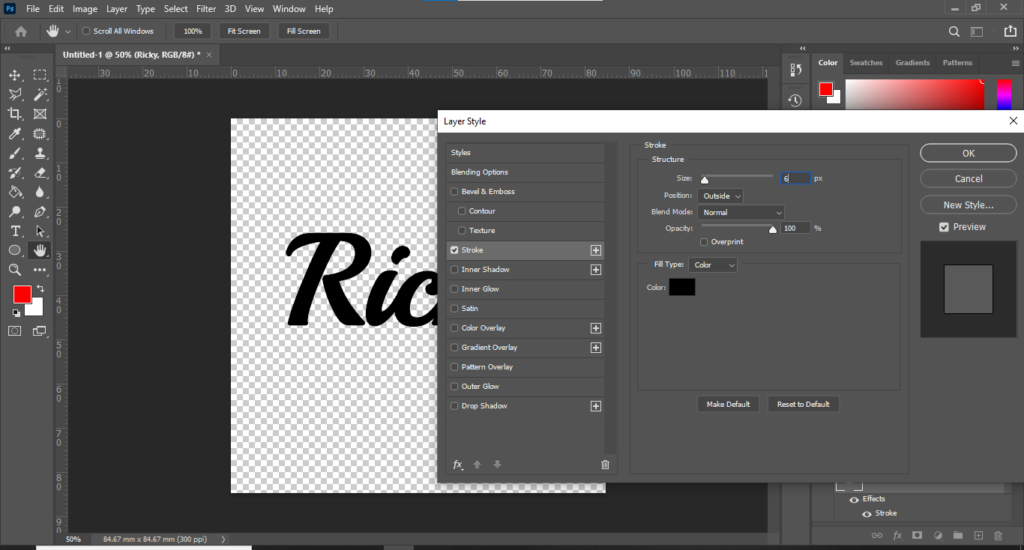
Step 3: Make the Text Bold
⦁ Right-click on the text layer in the Layers Panel.
⦁ Select Blending Options from the menu.
⦁ Click on Stroke and use the following settings to make the text bolder:
⦁ Size: Increase to make the text thicker.
⦁ Position: Set to Outside for a smooth look.
⦁ Color: Black (RGB: 0,0,0) for laser cutting.
This method ensures that the text remains thick enough when cut on acrylic or wood. For metal cutting, there won’t be any issues.

Step 4: Attach the Dot of the Letter "I"
⦁ Now, we need to connect the dot (.) of the letter “I” to the text so that it looks readable and visually appealing.
⦁ Select the Magic Wand Tool (W) and click on the dot of the “I” to select it.
⦁ Use the Move Tool (V) and slightly drag the dot closer to the main letter.
⦁ Similarly, adjust the “R” letter if needed so that all characters are properly connected.
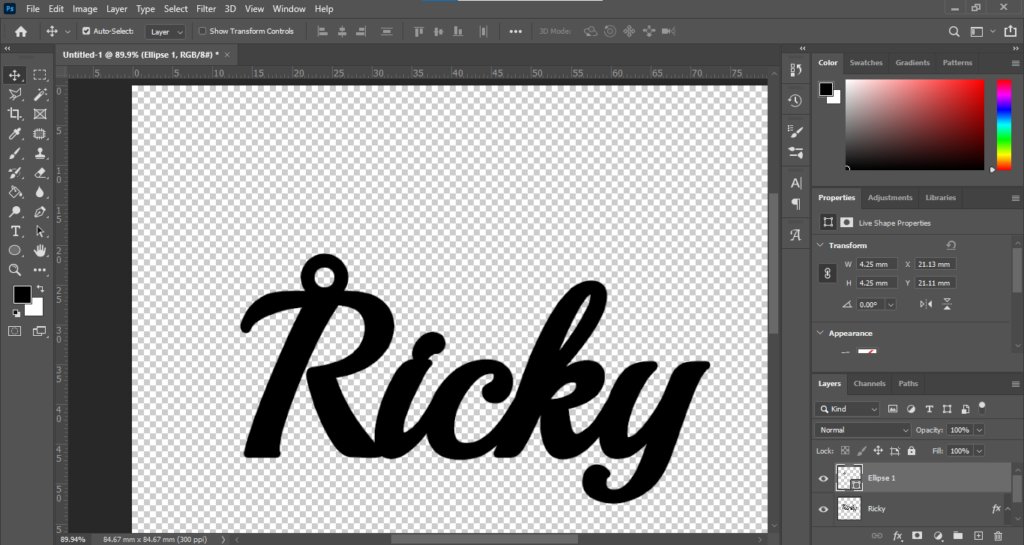
Step 5: Create a Hole for the Keychain
⦁ To attach the keyring to a chain, we need to add a small hole in the design:
⦁ Use the Ellipse Tool (U) to create a small circle (3-5mm diameter) at the edge of the keyring.
⦁ Ensure the hole is not too small, or it may not cut properly.
⦁ Finalize the design by aligning all elements properly.
Step 6: Export for Laser Cutting
Just like the monogram design, we will now:
⦁ Export the design as SVG (File > Export > Export As > SVG).
⦁ Convert the SVG to DXF format using rickylaserart for laser cutting compatibility.
Now your Laser cutting design for the keyring is ready! 
 Let me know if you need any tweaks!
Explore Our Free Digital Products!
Check out our free digital resources like stylish fonts (perfect for laser cutting), ready-to-use laser cut files (in SVG, DXF, PDF formats), and professional mockup bundles to showcase your products. Everything’s completely free—just explore, download, and elevate your creative projects! Click here to get started.
Want to Learn More?
If you want to master the complete process of laser cutting design & engraving, my detailed course covers everything step by step. You can buy my course to learn advanced techniques and tips that will help you create professional custom laser engraving designs with ease.

Get Expert Help & Services
Need professional help with custom laser engraving design? I offer expert services on Fiverr. If you need a custom engraving design tailored to your needs, check out my Fiverr profile.
Join My Newsletter
Want to receive the latest tips, tricks, and updates on laser engraving and cutting? Subscribe to my newsletter and stay ahead in your engraving journey!
Hii Ricky , this is the unique way to make designs for laser cutting machine.
thanks
waiting for the next blog
Pingback: 7 Easy Steps to Create Beautiful Custom Engraving Necklace at Home with xTool (Takes Less Than 30 Minutes!)
Pingback: Master Custom Laser Engraving in 10 Min with AI & Photoshop
Pingback: Leather Patch Design in 1 Hour: The Ultimate Way to Instantly Impress Your Clients
Pingback: 7 Best Selling Gigs on Fiverr in 2025: My Practical & Sustainable Approach
Pingback: Confused About the Best Font for Neon Signs? This 1 Trick Will Help!
Pingback: Metal Portrait Art – Master the Art of Laser Cutting in Just 3 Hour
Pingback: Photo to Line Art Portrait Converter for Laser Engraving: From Photo to SVG/DXF in One Workflow - Ricky Laser Art