
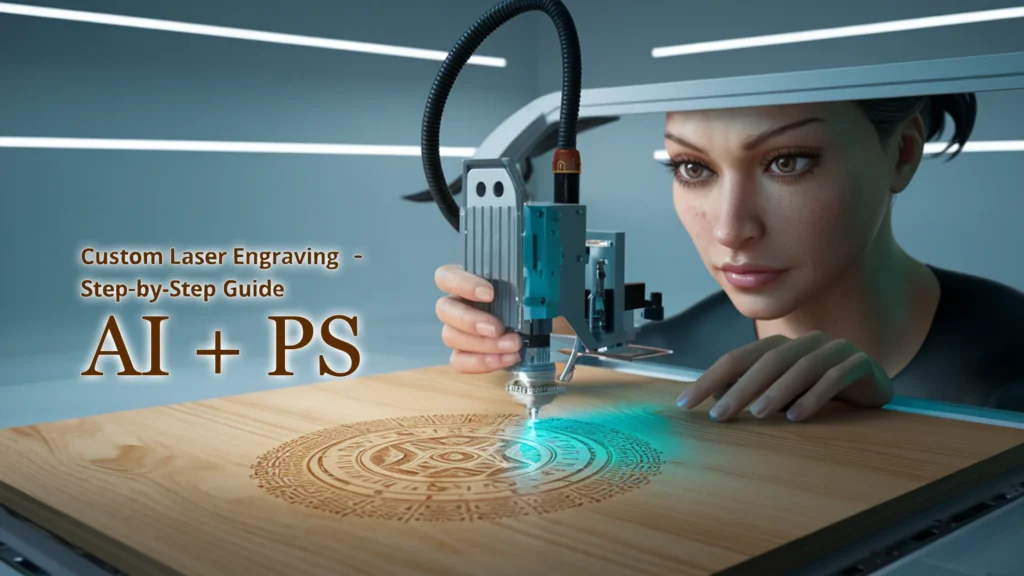
Have you ever wanted to create your own custom laser engraving design but didn’t know where to start? Don’t worry! This guide will teach you how to make engraving-friendly designs using Photoshop and AI—even if you are a complete beginner.
Laser engraving is a popular way to add unique designs to wood, but many beginners face common problems like: Blurry designs that don’t engrave well
Wrong file formats that don’t work with laser machines
Too much or too little detail, making the engraving look bad
Low contrast designs that don’t show up properly on wood
In this tutorial, you will learn:
- how to enhance the photo quality for engrave better
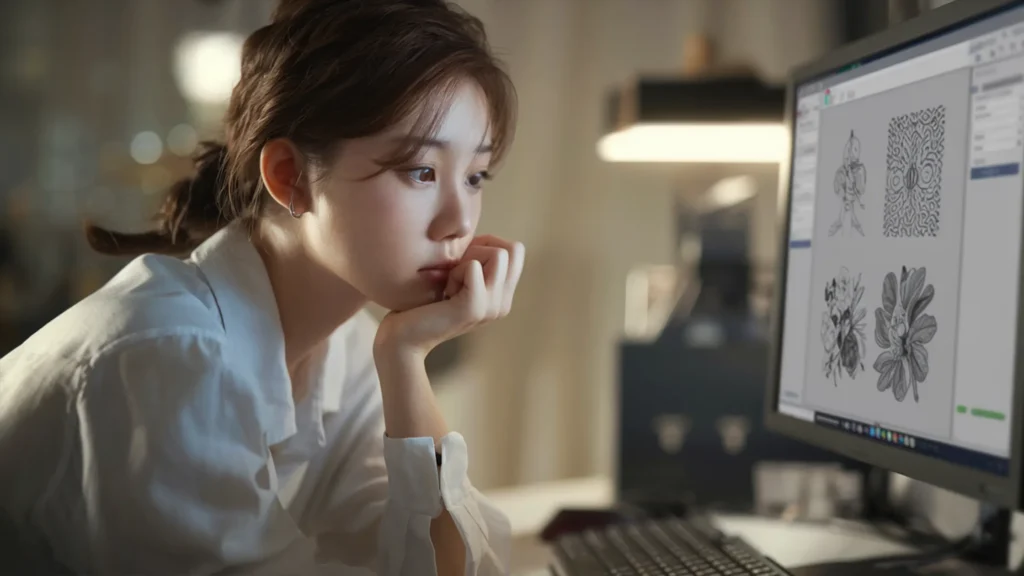
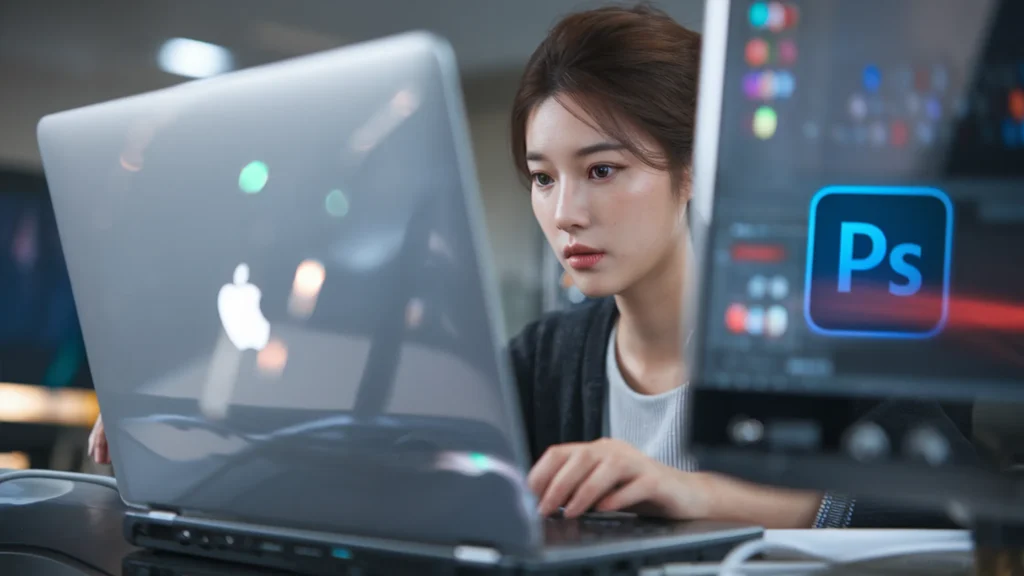
- How to prepare your design using Photoshop & AI
- The best file format and resolution for laser engraving
- Pro tips to make your engraving designs look amazing
- How to choose the right image for engraving
By the end of this guide, you will be able to create your own custom engraving design like a pro! Let’s get started.
Table of Contents
Step 1: Choosing the Right Image for Custom Laser Engraving

Before we start designing, the first and most important step is selecting the right image. Not every image works well for custom laser engraving, so you need to pick one that gives clear and sharp wood results.
✅ What Makes a Good Image for Custom Laser Engraving?
When selecting an image for custom laser engraving, keep these points in mind:
✔ High Resolution (At Least 300 DPI) – Low-quality images look pixelated when engraved.
✔ Good Contrast (Light and Dark Areas Visible) – Avoid images that are too faded or have poor lighting.
✔ Sharp Details – Blurry or over-detailed images may lose clarity during engraving.
✔ Simple Background – Too many background details can make the engraving look messy.
❌ What to Avoid in Custom Laser Engraving Designs?
🚫 Low-resolution images (pixelated or blurry)
🚫 Overexposed or very dark images
🚫 Complex backgrounds with too many distractions
Step 2: Setting Up Your Image in Photoshop

Before starting the engraving process, we need to prepare the image properly. The first step is setting up your image in Photoshop.
- Create a New Document: Open Photoshop and create a new document based on the size you need. If you are working on an A3-size engraving, set the dimensions accordingly.
- Import Your Image: Drag and drop the image into Photoshop. Ensure that the resolution is at least 300 DPI to maintain quality.
- Save as PNG: Once you’ve positioned the image correctly, export it as a PNG file.
Step 3: Enhancing Image Quality for Laser Engraving

To get the best results in custom laser engraving design, we need to enhance the image quality using AI-based tools.
- Use Super Resolution AI: Visit the Super Resolution AI website and upload your image.
- Enhance the Image: The AI tool will enhance the clarity and sharpness of the image for better engraving output.
- Download the Enhanced Image: Once the process is complete, download the enhanced version.
Step 4: Converting the Image to an Engraving-Friendly Format

We now need to convert the enhanced image into a laser-friendly format.
- Go to Rapid Resizer: Visit Rapid Resizer.
- Upload Your Image: Click on ‘Upload’ and select your enhanced image.
- Select the ‘Edges’ Option: This will highlight the outlines of your image, making it suitable for engraving.
- Adjust Sharpness and Threshold: Use the sharp and soft buttons to refine the image and adjust the threshold to balance the details.
- Download the Final Image: Once satisfied with the result, click ‘Download Print’ to save the image.
Step 5: Final Cleanup in Photoshop

- Open the stencil image in Photoshop.
- Use the Eraser Tool to remove any unnecessary background details.
- Ensure 300 DPI resolution for high-quality engraving.
- Add Text for Customization (If Needed)
- Export the final image as PNG.
Now, your image is fully enhanced and stencil-ready for custom laser engraving! This method ensures that your engraving comes out sharp, clear, and professional-looking.
Step 6: Importing the Image in Inkscape

Now, we will take the cleaned-up PNG image from Photoshop and convert it into SVG format using Inkscape. This step is important because laser engraving machines work best with vector (SVG) files.
1️⃣ Open Inkscape & Import Image
🔹 Open Inkscape.
🔹 Click on File → Import and select your PNG file.
🔹 A pop-up will appear → Click OK to keep default settings.
💡 Tip: Place the image in the center for easy editing.
2️⃣ Convert Image to Vector (Trace Bitmap)
🔹 Click on your image to select it.
🔹 Go to Path → Trace Bitmap.
🔹 A new window will open.
👉 Settings to adjust:
✔ Leave all settings as default.
✔ Increase the Threshold slightly (try 0.45 – 0.55) to capture more details.
✔ Click Update to see a preview.
✔ Click OK when satisfied.
💡 Why do this? It turns your image into a clean vector that a laser machine can read properly.
3️⃣ Delete the Old Image & Keep the Vector
🔹 Drag the new vector image to the side.
🔹 Click on the old PNG image and press Delete.
💡 How to check if it’s a vector?
✔ Zoom in! If the edges stay sharp, it’s a vector.
4️⃣ Save as SVG for Laser Engraving
🔹 Go to File → Save As.
🔹 Choose SVG format.
🔹 Make sure the resolution is set to 300 DPI.
🔹 Click Save.
💡 Why SVG? It keeps the image sharp and clear for laser engraving.
What is dpi in laser engraving?
DPI (Dots Per Inch) in Laser Engraving refers to the resolution of the engraved design, determining how many laser dots are placed per inch of material. A higher DPI means more detail and finer engraving, while a lower DPI produces a rougher or more shallow engraving.
How DPI Affects Laser Engraving
✔ Low DPI (150-300 DPI) – Faster engraving, less detail, good for large designs or soft materials like wood.
✔ Medium DPI (400-600 DPI) – Balanced detail and speed, suitable for most engraving projects.
✔ High DPI (800-1200 DPI) – Fine detail, deeper engraving, best for small text, intricate patterns, or materials like acrylic and glass.
Choosing the Right DPI for Your Project
- Wood: 300-500 DPI (lower DPI prevents burning and charring).
- Acrylic & Glass: 400-600 DPI (higher DPI ensures smooth engraving).
- Metal: 600-1200 DPI (high detail is needed).
Step 7: Converting the Design into DXF Format

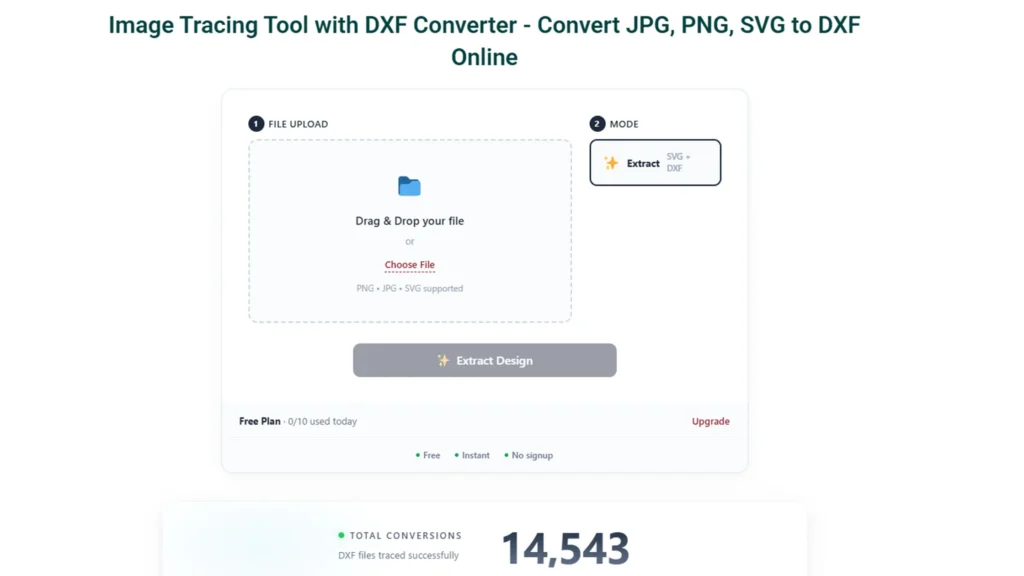
For laser cutting, we need to convert the design into a DXF file.
- Visit Convertio Website: Open Convertio.
- Upload Your SVG File: Click on “Choose Files” and upload your file.
- Select DXF Format: Choose DXF as the output format.
- Convert and Download: Click ‘Convert’ and download your DXF file for laser cutting.
I personally use Convertio for DXF conversions, and it has never disappointed me.
Step 8: Choosing the Right Wood for Laser Engraving

When doing custom laser engraving, choosing the right material is very important. Different materials react differently to the laser, so knowing their properties helps in getting the best results.
1️⃣ Best Wood for Laser Engraving
Wood is one of the most popular materials for laser engraving. You already use Pre-laminated MDF and Pine MDF, which are great choices. Here are some other good wood types:
✅ Best Wood Types for Engraving:
🔹 Pine MDF – Cheap, easy to engrave, smooth surface.
🔹 Pre-laminated MDF – Great for engraving detailed designs.
🔹 Birch Plywood – Affordable and produces dark engraving.
🔹 Basswood – Soft and gives clean engravings.
🔹 Walnut – Expensive but gives rich dark engraving.
💡 Pro Tip: Always test on a small piece first before engraving the final product.
2️⃣ Acrylic for Laser Engraving
Acrylic is also a great material for custom engraving. It gives a smooth, professional finish and is often used for signboards, keychains, and awards.
✅ Best Acrylic Types for Engraving:
🔹 Cast Acrylic – Best for deep, white engraving.
🔹 Extruded Acrylic – Cheaper but produces clear engraving instead of white.
💡 Pro Tip: Use cast acrylic for a better finish! Extruded acrylic melts easily and is not ideal for deep engraving.

3️⃣ Comparison: Wood vs. Acrylic for Laser Engraving
Feature
Wood (MDF, Pine, etc.)
Acrylic (Cast & Extruded)
Engraving Quality
Durability
Finishing
Best Use Cases
Natural, dark engraving
Strong but can burn easily
Rustic, natural look
Signs, portraits, keychains
Smooth, clear engraving
Waterproof, lasts longer
Modern, glossy look
Awards, LED signs, logos
💡 Pro Tip: If you want a wood-like look but stronger material, try engraving on wood-textured acrylic!
Now Your Material is Selected! ✅
- For rustic, natural designs → Use Pine MDF or Pre-laminated MDF.
- For modern, glossy designs → Use Cast Acrylic.
Testing Before Engraving
Always do a test engraving on a scrap piece before engraving the final product.
🔹 Adjust settings if the engraving is too light or too deep.
🔹 If edges look burnt, reduce power or increase speed.
Start Engraving! 🚀🔥
Once everything is set, click “Start” on your laser machine and let it engrave!
💡 Keep an eye on the machine to avoid any errors.

Common Problems and Solutions in Custom Laser Engraving Design
If your engraving looks blurry, ensure your image is high resolution (300 DPI) and properly enhanced before engraving.
Always save your final design in SVG or DXF format, as laser machines do not support PNG directly.
Convert images into black & white stencil-style for the best results.
Avoid excessive fine details, as they might not engrave well. Use threshold settings to find the right balance.
Convert your image to grayscale and adjust contrast for optimal engraving.
Vector images (SVG, DXF) are preferred for cutting, while raster images (PNG, JPG) are used for engraving.
Always use 300 DPI resolution and ensure your design is scaled properly before engraving.
Want to Learn More?
If you want to master the complete process of laser cutting design & engraving, my detailed course covers everything step by step. You can buy my course to learn advanced techniques and tips that will help you create professional custom laser engraving designs with ease.
Get Expert Help & Services
Need professional help with custom laser engraving design? I offer expert services on Fiverr. If you need a custom engraving design tailored to your needs, check out my Fiverr profile.
Join My Newsletter
Want to receive the latest tips, tricks, and updates on laser engraving and cutting? Subscribe to my newsletter and stay ahead in your engraving journey!
Final Thoughts
Creating a high-quality custom laser engraving design requires proper image preparation, enhancement, and conversion into the right format. By following these steps, you can create professional engraving designs that stand out.
If you found this guide helpful, let me know in the comments or share it with fellow engraving enthusiasts! 😊 Happy engraving! 🔥

Frequently Asked Questions (FAQs) on Custom Laser Engraving Design
Here are some common questions that beginners usually ask about custom laser engraving design:
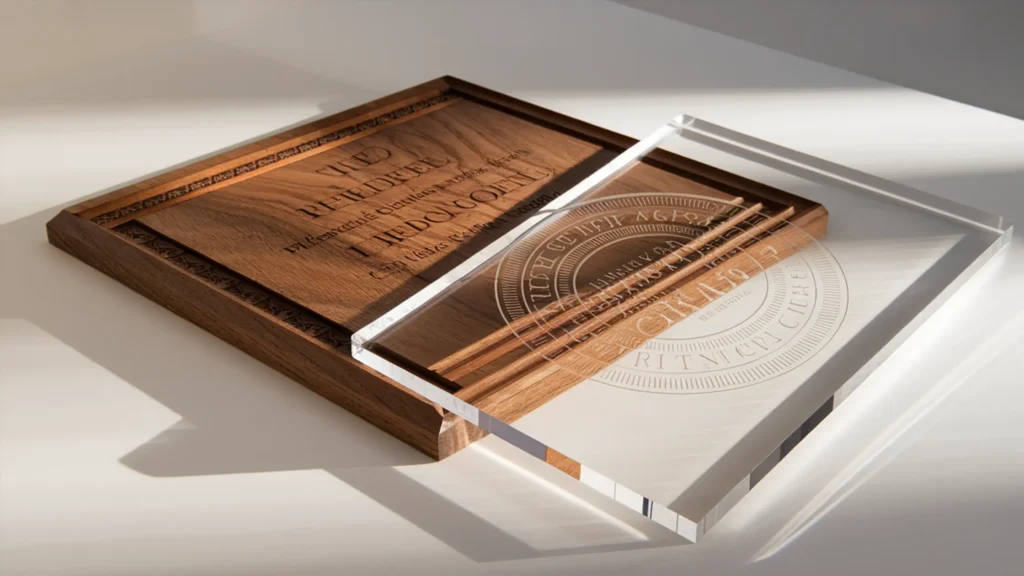
Laser engraving is a process of using a high-powered laser beam to etch or burn a design, text, or pattern onto a material’s surface. It removes a thin layer of material, creating a permanent mark with high precision and detail. This method is widely used on wood, acrylic, glass, leather, metal, and other materials to create custom designs, logos, or personalized products.
✅ Personalized gifts (wooden plaques, keychains, phone cases)
✅ Branding (engraving logos on products)
✅ Jewelry engraving (rings, bracelets)
✅ Industrial marking (barcodes, serial numbers)
✅ Artwork and decorations
- Design Preparation – A digital design (usually in formats like SVG, PNG, or DXF) is created and uploaded to the laser machine software.
- Material Selection – Wood, acrylic, leather, or metal is placed in the laser engraver.
- Laser Operation – The laser emits a focused beam of light that heats and vaporizes the material, leaving a detailed engraved mark.
- Final Cleanup – The engraved piece may require light cleaning to remove debris or burnt residue.
✅ SVG, DXF, and AI formats are the best for laser engraving and cutting. PNG or JPG can be used, but they need to be converted into a vector format first.
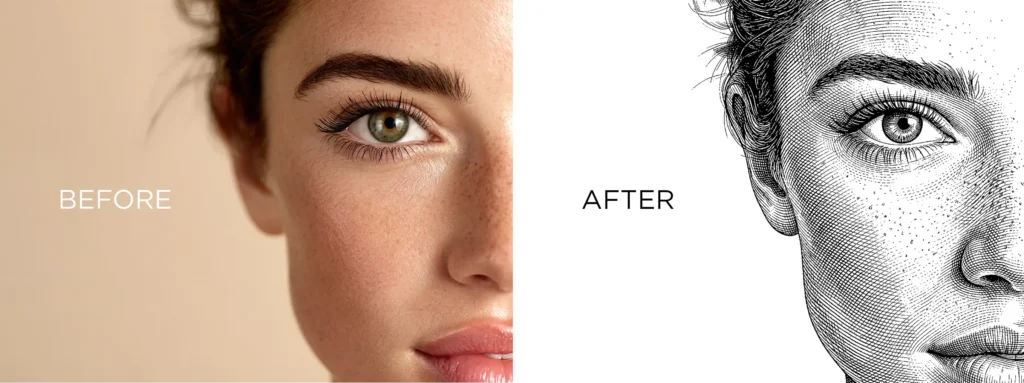
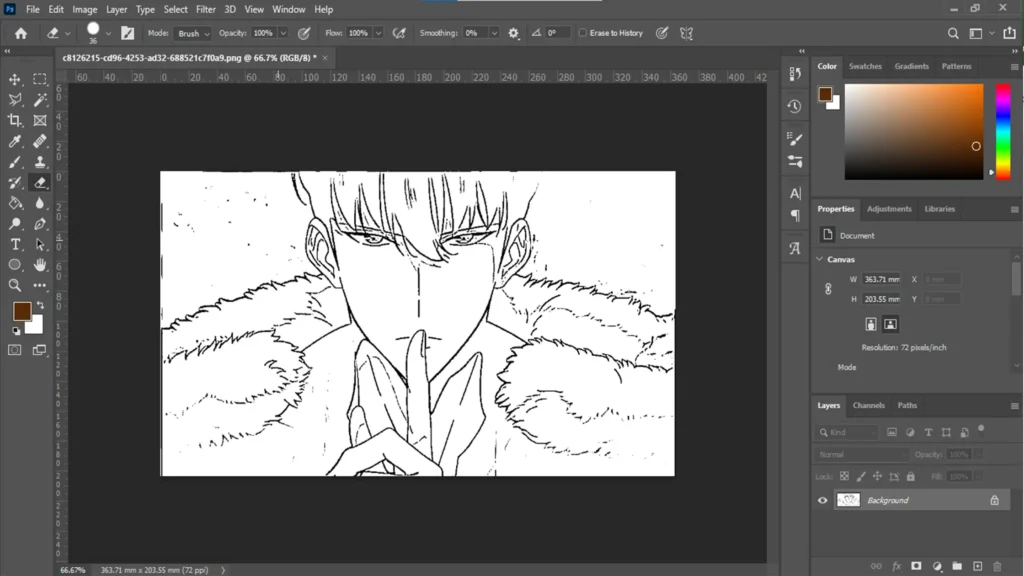
✅ Blurry engravings happen due to low image resolution. Always use images with at least 300 DPI and enhance clarity using AI tools before engraving.
✅ No, normal photos are not engraving-friendly. You need to convert them into black-and-white stencil-style images using Photoshop, Inkscape, or online tools like Rapid Resizer.
✅ Convert the image to grayscale, increase contrast, and use the threshold tool to create a stencil effect before saving it in PNG or SVG format.
✅ Vector images (SVG, DXF) are best for cutting, while raster images (PNG, JPG) are used for engraving. However, raster images must be properly prepared for engraving.
✅ Use 300 DPI resolution for the best engraving results. Lower resolutions can cause pixelation and blurry engravings.
✅ Laser engraving works in black & white. If you have a color image, convert it to grayscale and adjust the contrast before engraving.
✅ If your design has too many fine details, the laser may not capture them properly. Increase line thickness and avoid excessive fine lines in the design.
✅ The best materials for laser engraving include wood (MDF, Pine), acrylic, leather, glass, and anodized aluminum.
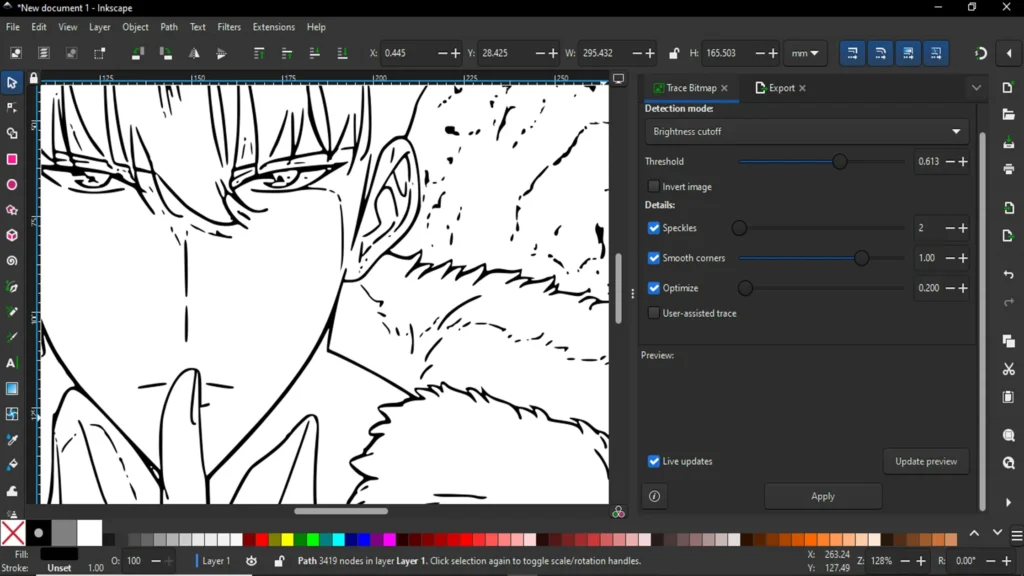
✅ Import the image, go to Path > Trace Bitmap, adjust the settings, and save it as SVG. If cutting is required, convert the file to DXF format.
Still have questions? Ask me in the comments or check out my detailed course where I explain everything step by step!