
Free Neon Sign Designer - SVG & Single Line DXF Export
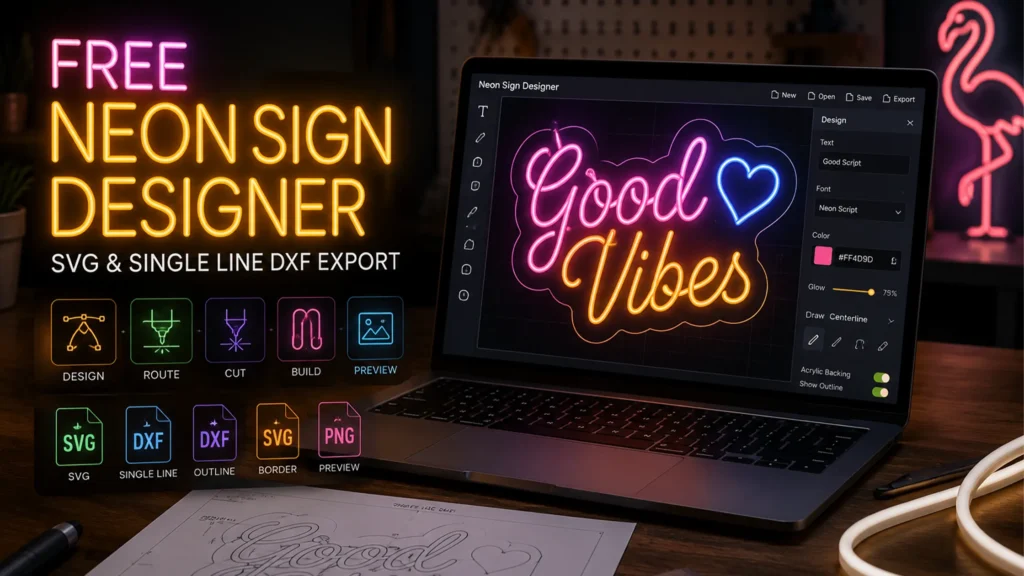
A browser-based design tool built for neon sign manufacturers, acrylic fabricators, and CNC production shops. Type your text, draw your design, and export fabrication-ready files – SVG for laser cutting, DXF for CNC routing, and a preview mockup for client approval. No software to install. No login required. Free to use.
Free forever • No login required
Why Production Shops Use This Tool
Every neon sign job involves the same file preparation bottleneck. A client sends a brief. You open Illustrator or CorelDRAW to build the layout. Then you manually redraw the centerline path for LED flex routing, separately trace the outer boundary for the acrylic backing board laser cut, and build a preview image to send for approval – often in a separate tool. That’s a meaningful chunk of manual prep time before a single piece of acrylic is cut.
This tool is designed to streamline that process into one interface.
The Neon Sign Designer helps handle the full pre-production file stack: design the sign, configure your colors and font, draw or generate the centerline path, export your production files, and share a client preview – all without leaving the browser.
It is not a consumer neon sign customizer. There are no templates for birthday parties or café walls. Every output is oriented toward production: clean vector paths, correct file formats, and files intended to load into common CNC and laser software with minimal cleanup.
No Desktop Software Required
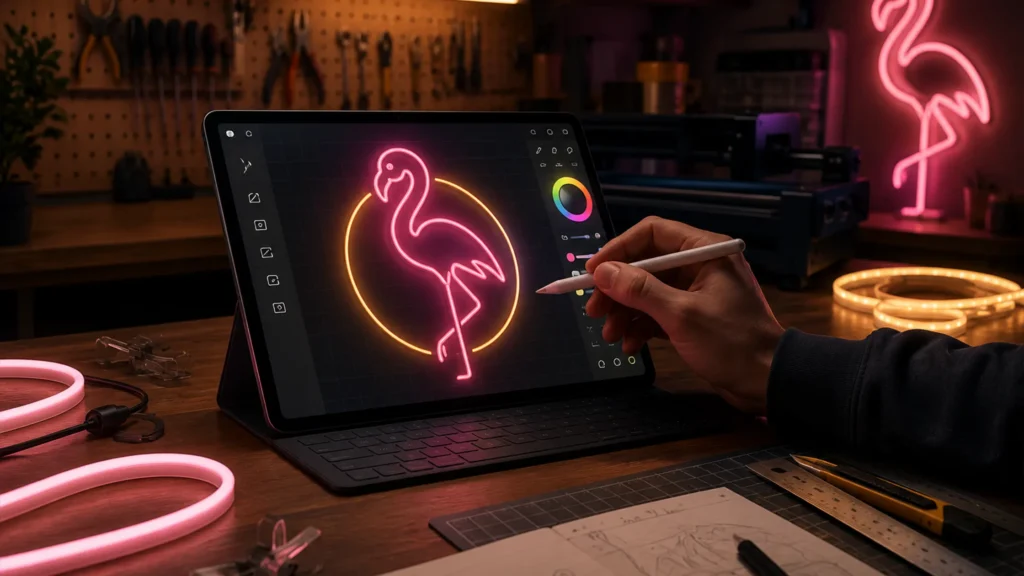
Runs entirely in the browser. No Illustrator subscription, no CorelDRAW install, no Windows-only CAD package. Works on any device with a modern web browser, including tablets used on the production floor.
One Tool for the Full Pre-Production File Set
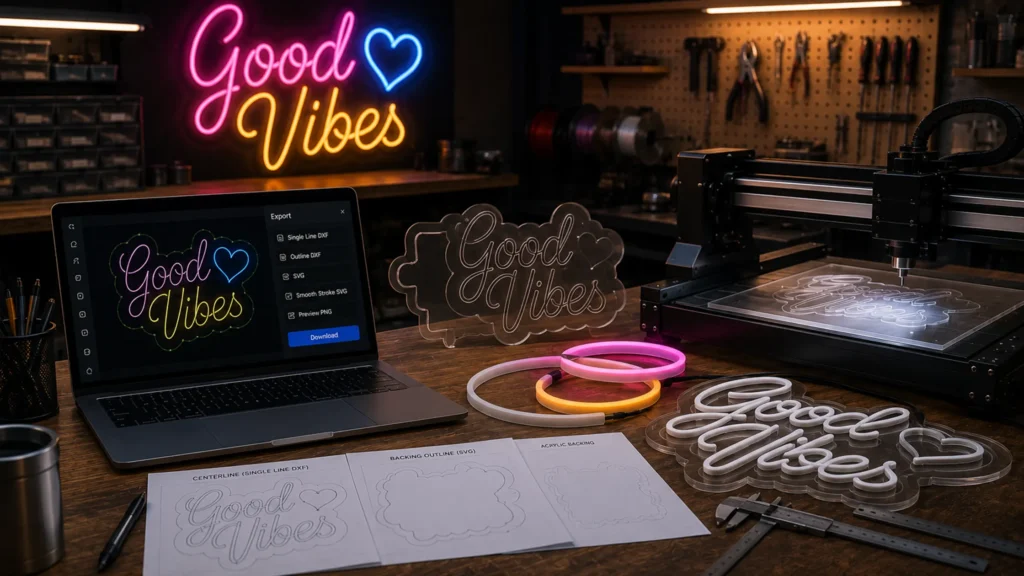
A single job produces multiple files: the centerline vector for CNC routing, the SVG outline for laser cutting the acrylic backing, the filled outline for reference or plotting, and a PNG mockup for client approval – all from the same design session.
Fully Free, No Login
No account creation. No free tier with locked exports. Every feature and every export format is available without signing up.
Ricky (Rishabh Yadav)
Founder, RickyLaserArt · 6+ Years in Laser & CNC Fabrication
This tool was built from six-plus years of hands-on work in laser cutting, CNC routing, acrylic fabrication, and neon sign production. Every export format exists because I needed it on my own production floor - no invented features, no fluff.
Building neon signs from custom portraits or logos? You might also want to try my Portrait to Line Art Converter to prepare clean, traceable images before designing here.
How It Works
Step 1 : Design Your Sign
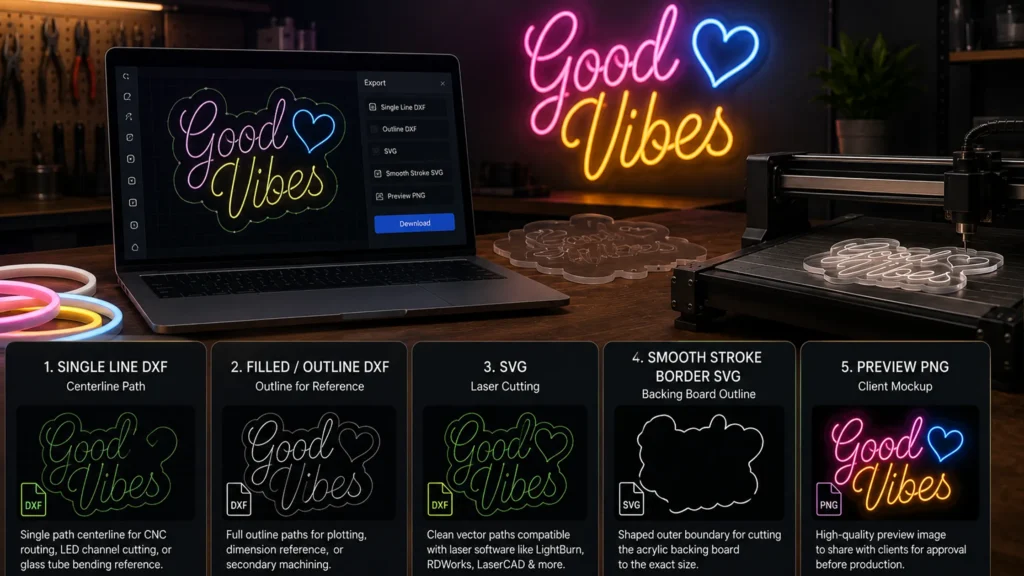
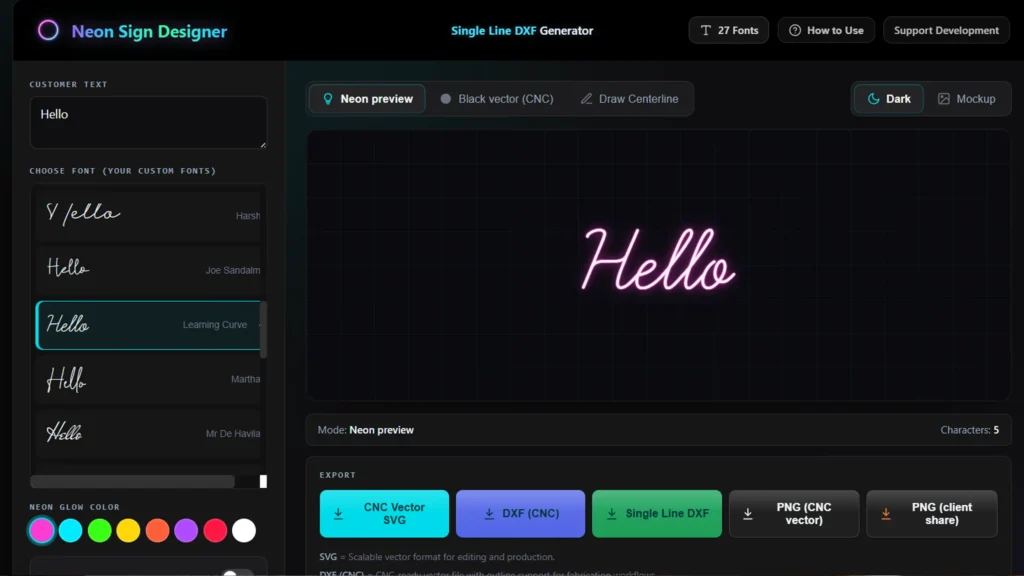
Enter your sign text and choose from available neon-compatible fonts. Set your sign color using the color picker – the canvas shows a live glow preview as you configure. For custom shapes or logo-based signs, use the Draw Centerline editor to manually trace your path directly on the canvas, replicating the pencil workflow you’d use in Illustrator.
Step 2 : Set Your Acrylic Backing
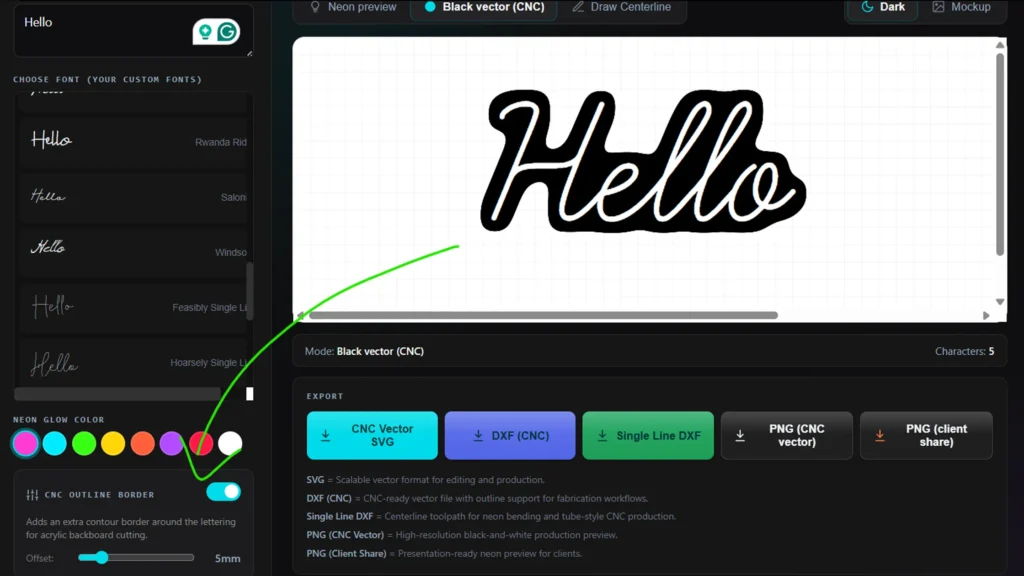
The acrylic backing outline is generated from your design. This defines the laser-cut boundary of the backing board – the outer silhouette that your CO2 laser will follow when cutting the sheet.
Step 3 : Export Your Production Files
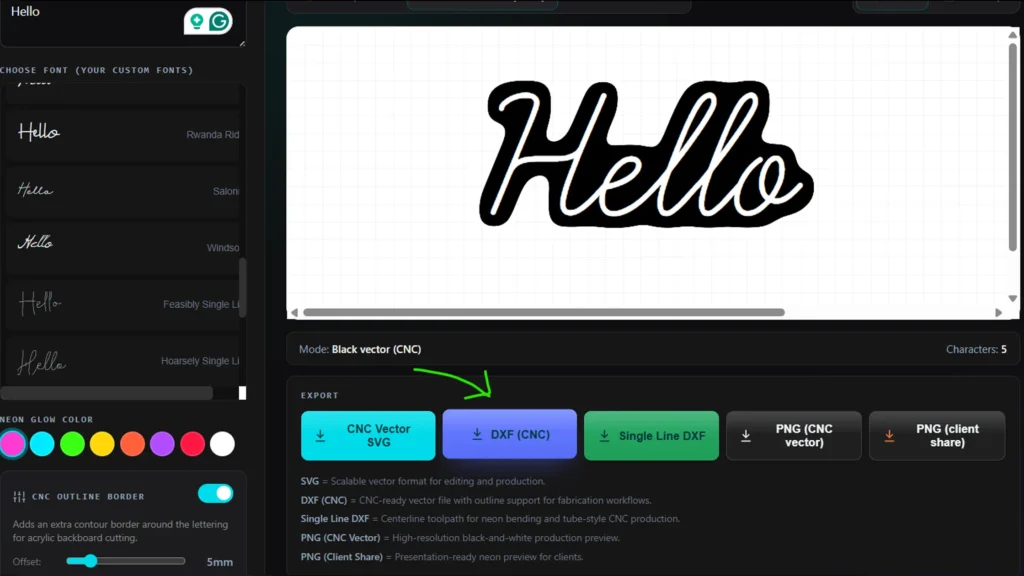
Download the files your production floor needs:
- Single Line DXF – the centerline path for CNC groove routing or glass tube bending reference
- Filled/Outline DXF – the full outline for dimensional reference or plotting
- SVG – clean vector for loading into LightBurn, RDWorks, or any laser controller
- Smooth Stroke Border SVG – the shaped outer boundary for laser cutting the backing
- Preview PNG – realistic glow mockup for client approval before production starts
Step 4 : Cut, Route, Mount
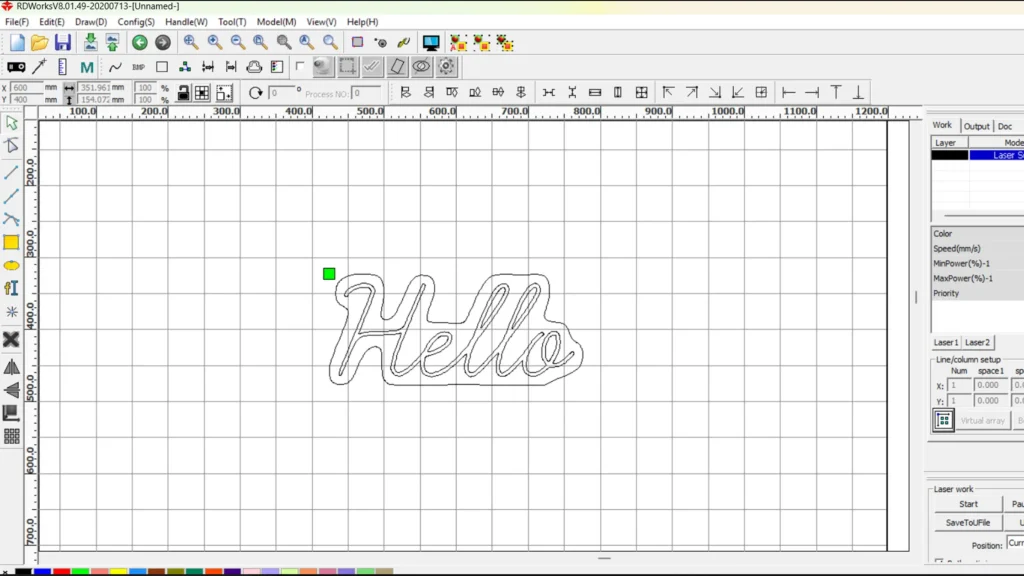
Load the DXF into your CNC software. Load the SVG into your laser controller. Cut the backing to shape, route the LED flex channels, mount and wire the strips. The exports are structured to work directly with standard fabrication software, helping simplify the workflow from design to machine.
Why Choose This Tool?
| Feature | This Tool | Typical Online Neon Designers |
|---|---|---|
| Free to Use | ✅ | Often Paid |
| No Login Required | ✅ | Usually Required |
| SVG Export | ✅ | Limited |
| Single Line DXF Export | ✅ | Rare |
| Filled / Outline DXF | ✅ | Rare |
| Acrylic Backing Outline | ✅ | Rare |
| Client Preview PNG | ✅ | Sometimes |
| Browser Based | ✅ | Usually |
| Software Installation | None | Often Needed |
Most online neon designers are built for end consumers ordering a sign. This one is built for the people making them.
Export Formats and Compatibility
Single Line DXF - Centerline for CNC Routing and Tube Bending
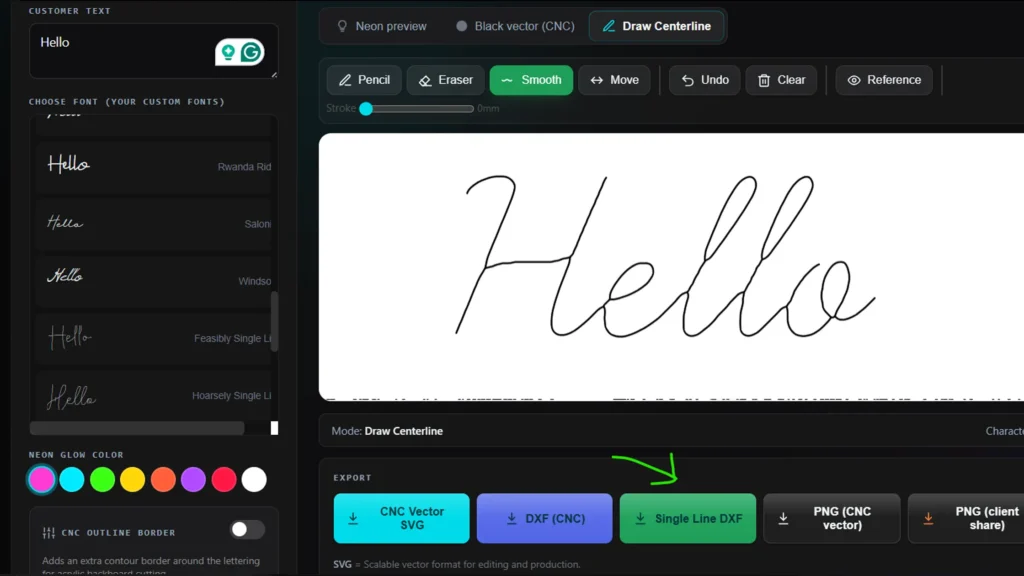
The single line export is a single-path centerline vector – not an outline or filled shape, but the exact route the center of your LED flex strip or glass tube follows. This is the file your CNC router toolpath can be built from in VCarve, Aspire, or RDWorks. For glass neon, it can also be plotted at 1:1 scale as a tube bending reference pattern.
The distinction matters because sending a standard outlined font to a CNC router cuts the letter boundary, not the LED channel path. A true centerline is what the machine actually needs.
SVG - Laser Cutting Acrylic Backing Boards
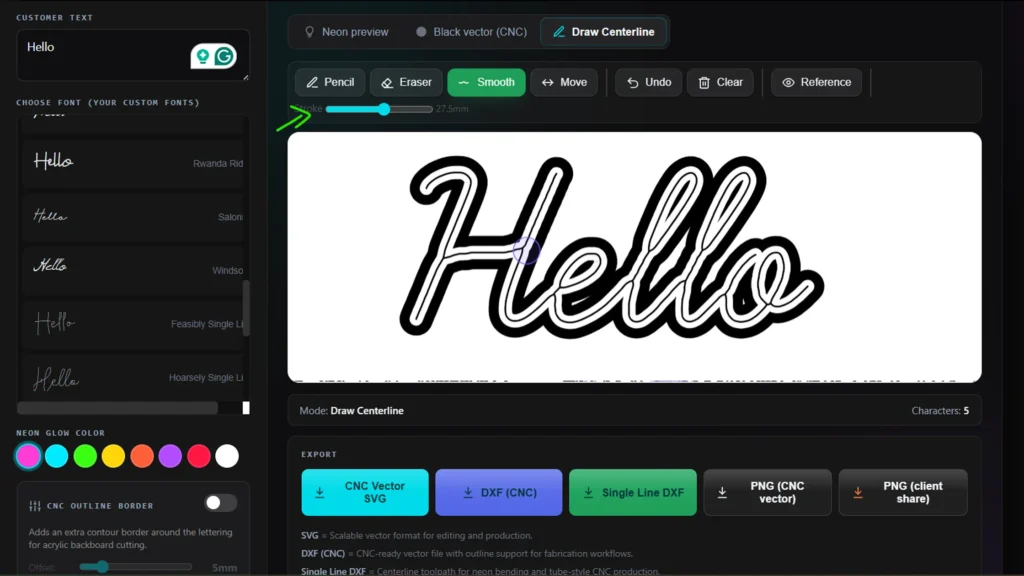
Clean closed-path SVG compatible with LightBurn, RDWorks, LaserCAD, and any CO2 laser controller that reads standard SVG. Load directly, set your cut parameters for acrylic thickness, and run – typically without unit conversion or path cleanup.
Smooth Stroke Border SVG - Shaped Backing Board Boundary
A separate SVG output representing the outer boundary of the sign – the shaped silhouette used to cut the backing to its final form. This is the file that gives finished LED neon signs their contour-cut backing rather than a plain rectangle.
Filled / Outline DXF - Reference and Plotting
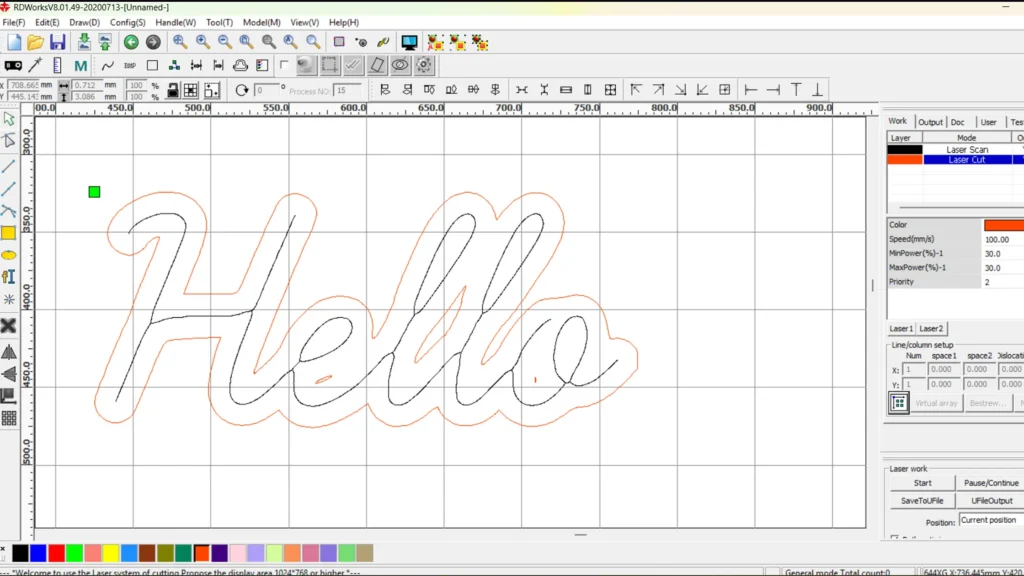
The full outlined vector of the sign design, exported as DXF. Useful for dimensional reference, client proofing prints, or shops that route from outline paths rather than centerlines.
Client Preview PNG
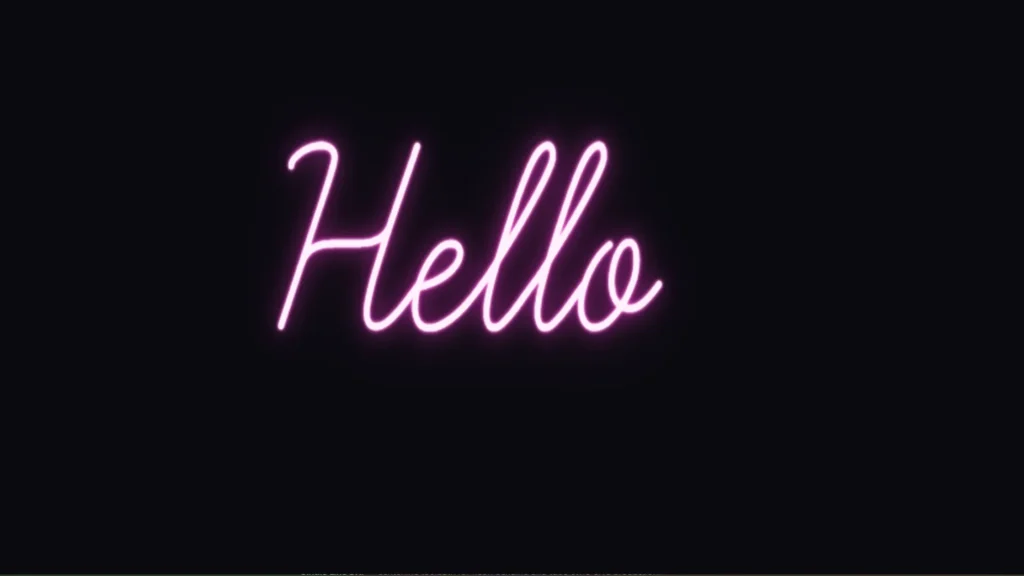
A rendered mockup showing the sign glowing in your configured color on a dark background. Sized and formatted for direct client sharing – email, WhatsApp, or embedding in a quote document. Helps reduce approval back-and-forth and move jobs toward production sooner.
Frequently Asked Questions
What is the difference between a single line DXF and a filled outline DXF for neon signs?
A filled outline DXF represents a letter or shape as a closed boundary — the outer and inner edges of the stroke. A single line DXF represents the same letter as a single centerline path, with no fill.
CNC routers and tube bending guides typically need the centerline: it defines the routing path for LED flex channels and the bending path for glass tubes. Sending a filled outline to a CNC router will cut the letter perimeter, not the groove path.
What CNC and laser software can read these files?
The DXF exports are standard AutoCAD-format DXF files in mm units, generally compatible with VCarve Pro, Aspire, RDWorks, LightBurn, AutoCAD, CorelDRAW, and other CNC control software that reads DXF.
The SVG exports work with LightBurn, RDWorks, LaserCAD, Inkscape, and Illustrator.
Can I use the Draw Centerline editor for logo-based neon signs, not just text?
Yes. The Draw Centerline editor lets you manually trace any path on the canvas — text, logos, or custom shapes. This mirrors the Illustrator pencil/pen tool approach used in professional neon fabrication.
Trace your reference image, draw the path, and export directly to DXF.
Does the tool work for both LED flex neon and traditional glass tube neon?
Yes. The centerline output is format-compatible with both workflows. LED flex shops use it as the CNC routing path.
Glass tube benders can plot it at 1:1 scale as a physical bending pattern, or import it into CAD for dimensional planning before bending.
Is there a minimum bend radius I should design for?
Standard 6mm LED flex strips typically require a minimum bend radius of approximately 15mm to mount cleanly. Designs with tighter curves or sharp corners can cause the LED strip to kink or lift from the acrylic channel.
Designing within these tolerances in the tool helps avoid rework on the production floor.
Do I need to create an account or pay to use this tool?
No. The tool is fully free with no login required. All export formats — DXF, SVG, and preview PNG — are available without creating an account or subscribing.
Built for Real Production Work
This tool was built by someone who works in the trade. Six-plus years of hands-on laser cutting, CNC routing, and acrylic fabrication went into deciding what the exports should look like and which steps of a real neon workflow they should replace.
Every feature exists because it solved a specific problem on an actual production floor – the frustration of manually redrawing centerlines, the back-and-forth of client approvals, the tedium of preparing four different files for one job in four different pieces of software.
There are no invented features here. What you see in the export list is what the tool does. It’s meant for fabricators who already know their machines, their materials, and their workflow – and just want the file prep step to move faster.
Free forever • No login required